Key Takeaways
Booting from an NVMe SSD requires checking system compatibility, preparing the drive, and configuring BIOS settings. A clean OS installation or cloning of the existing OS to NVMe is required for setup.
Booting your PC from an NVMe SSD can drastically improve performance, providing faster boot times and more responsive applications. Setting up your PC to boot from an NVMe SSD requires a few specific steps and adjustments.
Below, we’ll walk through each step, from checking your system compatibility to configuring BIOS settings and troubleshooting any issues you might encounter.
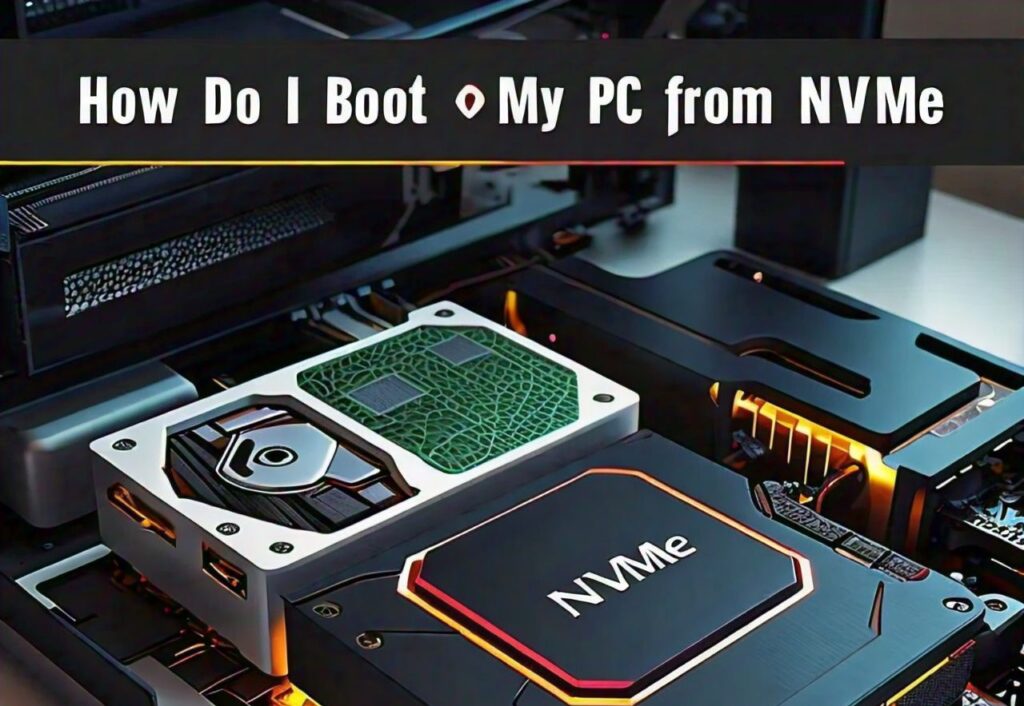
How Do I Boot My PC from NVMe?
Checking System Compatibility for NVMe Booting
Before beginning, it’s essential to ensure your PC supports booting from an NVMe SSD.
Not all systems are compatible, particularly older PCs, so verifying hardware support is a crucial first step.
1. Confirm NVMe Support in Your Motherboard
- Check the manual: Review your motherboard’s manual to see if it explicitly supports NVMe booting.
- Locate the M.2 slot: Ensure that your motherboard has an M.2 slot supporting NVMe protocol, as some M.2 slots only support SATA-based SSDs.
2. BIOS/UEFI Version Requirements
- Update the BIOS/UEFI: Sometimes, NVMe support is only available through a BIOS/UEFI update. Visit the manufacturer’s website to download and install the latest version for your motherboard.
Preparing the NVMe SSD for Booting
Once compatibility is confirmed, prepare your NVMe SSD for installation.
If the NVMe drive is brand new, it may need to be initialized and formatted.
1. Physical Installation of the NVMe Drive
- Power down and disconnect your PC: Safety is key, so make sure the PC is unplugged.
- Install in the M.2 slot: Carefully place the NVMe SSD into the M.2 slot on your motherboard. Use a screwdriver to secure it if necessary.
2. Formatting the Drive
- Initialize the SSD: Go to Disk Management in Windows, locate the new SSD, and initialize it as GPT (GUID Partition Table).
- Format: Format the SSD with an NTFS file system if it is not yet formatted.
Configuring BIOS/UEFI Settings for NVMe Boot
With the SSD physically installed, you need to configure the BIOS/UEFI settings to allow your PC to boot from the NVMe SSD.
1. Access BIOS/UEFI
- Enter BIOS: Restart your PC and press the BIOS access key (usually F2, F10, DEL, or ESC) during boot.
2. Change Boot Mode to UEFI
- Enable UEFI mode: NVMe drives require UEFI boot mode. If the BIOS is set to Legacy mode, switch it to UEFI.
3. Set Boot Priority to NVMe
- Change the boot order: In the BIOS, set the NVMe SSD as the primary boot device. This option is typically located under “Boot Options” or similar.
Cloning the OS to NVMe SSD
If you want to transfer your existing operating system (OS) to the NVMe SSD instead of performing a fresh installation, cloning software can help make an exact copy of your OS on the NVMe drive.
1. Choosing Cloning Software
Select software: Popular tools for cloning include Macrium Reflect, Acronis True Image, and EaseUS Todo Backup.
2. Connect Both Drives
Connect the old and new drive: Ensure both the original drive with the OS and the new NVMe SSD are connected to the system.
3. Begin Cloning Process
Start the cloning: Open the cloning software, and select the source drive (your existing OS drive) and the destination (the NVMe SSD). Start the cloning process, which can take some time depending on the amount of data being transferred.
4. Adjust Boot Priority Post-Cloning
Restart and boot from NVMe: After cloning is complete, restart your PC, enter BIOS again, and set the NVMe SSD as the primary boot device.
Installing a Fresh OS on NVMe SSD
Alternatively, you can install a fresh operating system on the NVMe SSD to start with a clean slate.
1. Create a Bootable USB
- Download OS installation media: Use a tool like Windows Media Creation Tool or download the ISO for Linux distributions.
- Make a bootable USB: Use software like Rufus to create a bootable USB from the ISO file.
2. Install OS on NVMe SSD
- Boot from USB: Insert the bootable USB and restart the PC, selecting the USB as the boot device in BIOS.
- Select NVMe SSD as the install drive: During installation, choose the NVMe SSD as the destination drive for the OS.
Troubleshooting Common NVMe Boot Issues
If you encounter boot issues after setting up the NVMe drive, here are some common troubleshooting steps.
1. Re-check BIOS/UEFI Settings
- Boot Order: Ensure the NVMe SSD is still the primary boot device.
- Compatibility Options: Some motherboards may have “CSM” (Compatibility Support Module) options that need to be disabled for NVMe.
2. Verify UEFI Mode
- Ensure UEFI is enabled: As mentioned, NVMe SSDs require UEFI mode. If UEFI is not enabled, the system may fail to recognize the drive as bootable.
3. Use Recovery Tools
- Repair Windows Boot: For Windows, use a Windows installation USB to access the recovery environment and repair the bootloader if necessary.
Optimizing NVMe Performance for Faster Boot
NVMe SSDs provide high-speed storage, but further optimization can help maximize performance.
1. Enable AHCI Mode
Configure for optimal performance: Ensure AHCI mode is enabled in BIOS, as this mode is designed for SSDs and offers better performance.
2. Minimize Startup Programs
Manage startup applications: Go to Task Manager > Startup tab, and disable unnecessary startup programs for a faster boot time.
3. Enable Fast Startup (Windows)
Enable fast startup: Go to Control Panel > Power Options > Choose what the power buttons do, and enable Fast Startup if it’s not already.
Maintaining and Updating NVMe SSD Firmware
Keeping the firmware of your NVMe SSD up to date is crucial for stability, security, and performance.
1. Check for Firmware Updates
Use SSD manufacturer software: Most NVMe SSD manufacturers provide software that can check for and install firmware updates, like Samsung Magician or Crucial Storage Executive.
2. Perform Regular Health Checks
Monitor drive health: Regularly check the SSD’s health status using the manufacturer’s tool or a third-party tool like CrystalDiskInfo to ensure it’s functioning optimally.
FAQs
Q: Can I boot from an NVMe SSD without UEFI support?
A: No, NVMe SSDs require UEFI mode for booting. Legacy BIOS does not support booting from NVMe SSDs.
Q: How do I know if my motherboard supports NVMe?
A: Check the motherboard’s manual or look for the M.2 slot specification on the manufacturer’s website.
Q: What if I clone my OS but it won’t boot from the NVMe?
A: Ensure UEFI mode is enabled, check the boot order in BIOS, and disable any CSM options.
Q: Is cloning the OS to NVMe faster than a fresh install?
A: Cloning can be faster if you want to avoid reinstalling programs, but a fresh install may provide cleaner performance.
Q: Does NVMe SSD need special drivers?
A: Windows 10 and later include native NVMe drivers, though some manufacturers may offer optimized drivers for enhanced performance.
Conclusion
Booting from an NVMe SSD can drastically improve system performance and responsiveness.
From checking system compatibility and configuring BIOS settings to cloning an OS or installing fresh, each step is critical to ensuring smooth and efficient booting from NVMe.
By following these guidelines, optimizing performance, and maintaining your NVMe SSD, you can enjoy quicker boot times and a more responsive computing experience.
Leave a Reply