Key Takeaways
Upgrading your Steam Deck’s SSD is a great way to increase storage and improve performance. Follow each step to safely replace the SSD and reinstall Steam OS without damaging your device.
Replacing the SSD on your Steam Deck can significantly boost its storage capacity and overall performance.
This guide provides a step-by-step approach to help you safely upgrade your Steam Deck’s SSD.
We’ll cover everything from removing the old SSD to installing the new one and setting up Steam OS. If you’re ready to enhance your gaming experience, follow along carefully.
Step-by-Step Guide to Replacing the SSD
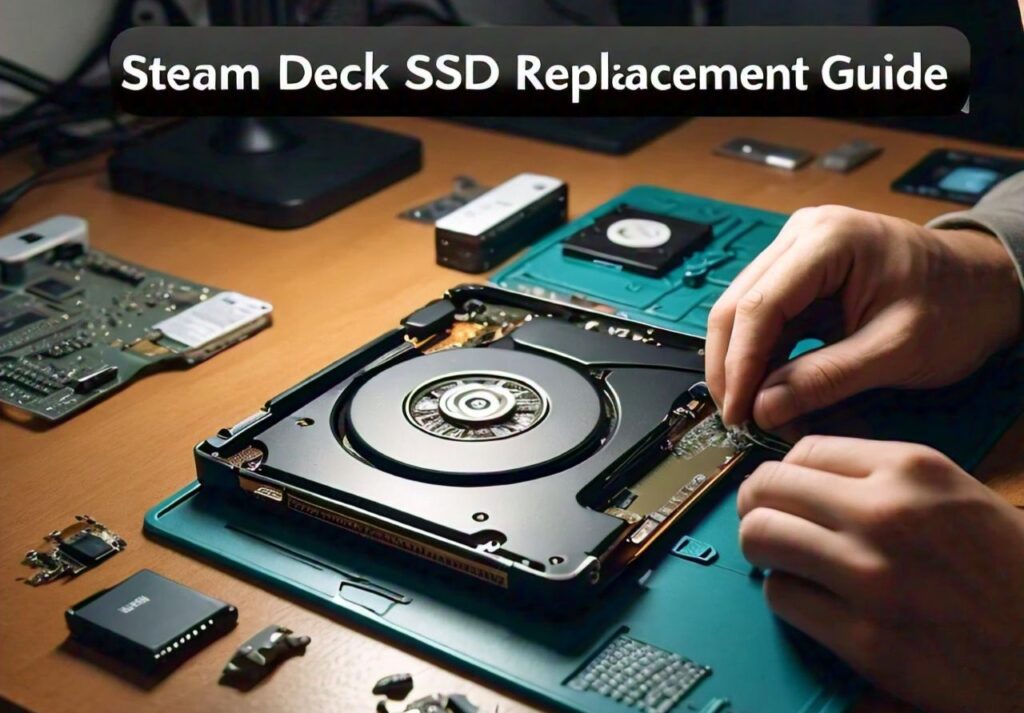
Upgrading the SSD on your Steam Deck requires caution and attention to detail. Here’s a complete step-by-step guide:
What You Need Before You Start?
Before beginning, ensure you have the following tools and components:
- Replacement SSD (M.2 2230 NVMe SSD)
- Precision screwdriver set
- Plastic prying tool
- Antistatic wrist strap (optional but recommended)
- USB drive (at least 8 GB) for Steam OS installation
- Backup of your Steam Deck data
Step 1: Power Off and Disconnect
Ensure your Steam Deck is turned off completely and unplugged from any power source. Press and hold the power button for a few seconds to power it down safely.
Step 2: Remove the Back Cover
Use a precision screwdriver to unscrew the back cover.
There are several screws, so keep them in a safe place. Once unscrewed, use a plastic prying tool to carefully lift the back cover, avoiding any force that might damage the clips.
Step 3: Disconnect the Battery
Before proceeding, disconnect the battery connector. This step is crucial to prevent any electrical damage while handling the internal components.
Step 4: Locate the SSD
The SSD is located near the battery. It’s secured with a small screw. Use your screwdriver to remove this screw.
Step 5: Remove the Old SSD
Gently lift the SSD at a slight angle (around 30 degrees) and slide it out of the slot. Be careful not to force it out, as this could damage the motherboard.
Step 6: Insert the New SSD
Take your new M.2 2230 NVMe SSD and insert it into the slot at the same angle you removed the old one.
Push it down gently and secure it with the screw you previously removed.
Reassembling and Testing Your Steam Deck
Once the new SSD is installed, it’s time to reassemble your Steam Deck and test the hardware.
Step 1: Reconnect the Battery
Ensure you reconnect the battery before sealing the device. This step is critical for the device to power on correctly.
Step 2: Attach the Back Cover
Align the back cover with the body of the Steam Deck and press it down gently. Use your screwdriver to secure all the screws you removed earlier.
Step 3: Power On Your Steam Deck
Press the power button to turn on your Steam Deck. If it powers on without any issues, the hardware installation was successful.
Installing Steam OS on Your New SSD
After replacing the SSD, you’ll need to reinstall Steam OS to get your Steam Deck up and running.
Follow these steps:
Step 1: Create a Bootable USB Drive
Download the Steam OS recovery image from the official Steam Deck website. Use a tool like Rufus or Balena Etcher to create a bootable USB drive with the downloaded image.
Step 2: Boot from the USB Drive
Insert the USB drive into your Steam Deck. Hold down the volume down button and press the power button simultaneously to boot into the BIOS menu. From here, select the USB drive as the boot device.
Step 3: Reinstall Steam OS
Once the Steam OS installer loads, follow the on-screen instructions to reinstall the operating system on your new SSD. This process may take some time, so be patient.
Step 4: Complete the Setup
After the installation is complete, your Steam Deck will reboot. Follow the setup instructions to log in to your Steam account and restore your game library.
Common Issues and Troubleshooting Tips
Upgrading your Steam Deck’s SSD can sometimes lead to unexpected problems. Here are some common issues and how to fix them:
Problem 1: Steam Deck Doesn’t Power On
If your Steam Deck doesn’t turn on after reassembling, check the following:
- Ensure the battery is properly connected.
- Verify that the SSD is correctly seated in its slot.
- Try connecting your Steam Deck to a power source and see if it powers on.
Problem 2: SSD Not Recognized
If your new SSD isn’t detected, try these steps:
- Double-check that the SSD is compatible (M.2 2230 NVMe).
- Ensure the SSD is firmly inserted into the slot.
- Boot into the BIOS menu and see if the SSD appears under the storage devices.
Problem 3: Installation Issues with Steam OS
If the Steam OS installation fails or gets stuck:
- Redownload the Steam OS recovery image and create a new bootable USB drive.
- Try a different USB drive if the issue persists.
- Make sure you’re following the correct steps to boot from the USB drive.
Problem 4: Overheating After SSD Replacement
If you notice your Steam Deck overheating after the SSD upgrade:
- Ensure the back cover is properly secured and there’s no obstruction to the ventilation.
- Consider applying a new thermal paste if you’re comfortable doing so, as this can help with heat dissipation.
FAQs
Can I Use Any SSD for the Steam Deck?
No, the Steam Deck is compatible with M.2 2230 NVMe SSDs. Other SSD sizes (like M.2 2280) will not fit properly.
Will Replacing the SSD Void My Warranty?
Yes, replacing the SSD may void your Steam Deck’s warranty. It’s best to check with the manufacturer before proceeding.
How Much Storage Can I Add to My Steam Deck?
You can upgrade to SSDs with capacities of up to 1TB, depending on the availability of compatible M.2 2230 NVMe SSDs.
Do I Need to Back Up My Data Before Replacing the SSD?
Yes, replacing the SSD will erase all existing data. Be sure to back up your games and personal files before starting.
What Should I Do if the New SSD Doesn’t Work?
If your new SSD isn’t working, check for compatibility issues, ensure proper installation, and try reinstalling Steam OS.
Conclusion
Replacing the SSD on your Steam Deck is an effective way to increase storage capacity and enhance your gaming experience.
By following this comprehensive guide, you can safely upgrade your SSD, reinstall Steam OS, and troubleshoot any issues that arise.
Always handle your device carefully and back up your data before starting. With the right tools and patience, you’ll have your Steam Deck running better than ever.
Enjoy your upgraded gaming experience!
Leave a Reply