Key Takeaways
Upgrading the SSD in your ROG Ally enhances storage capacity and performance. Compatible SSD types include NVMe M.2 2230 drives. Proper tools and careful handling are essential during the upgrade. Follow the step-by-step guide to open the ROG Ally and replace the SSD without issues.
The ROG Ally is ASUS’s innovative handheld gaming console, equipped with a custom AMD APU that provides robust performance for gaming on the move.
One of the key advantages of the ROG Ally is its upgradeable storage.
As games become larger and more demanding, having ample SSD space becomes critical for an uninterrupted gaming experience.
This article will guide you through upgrading the SSD to ensure your ROG Ally runs smoothly and efficiently.
How to Upgrade ROG Ally SSD? Check SSD Compatiblity
Before starting the upgrade, it’s crucial to know which SSD types are compatible with the ROG Ally.
The ROG Ally supports:
NVMe M.2 2230 Drives
- Form Factor: The ROG Ally uses a 2230 form factor SSD, which measures 22mm in width and 30mm in length.
- Interface: Look for SSDs that utilize the NVMe interface for optimal performance. NVMe drives are significantly faster than traditional SATA SSDs, providing improved load times and overall responsiveness.
Recommended Brands
While several brands manufacture compatible NVMe M.2 2230 SSDs, some of the most reliable include:
- Samsung: Known for high performance and durability.
- Western Digital (WD): Offers a range of SSDs with solid performance metrics.
- Crucial: Provides budget-friendly options without sacrificing quality.
- Sabrent: Known for competitive pricing and good performance ratings.
Tools Required for the Upgrade
Upgrading the SSD in your ROG Ally requires specific tools to ensure the process goes smoothly. Here’s what you’ll need:
Essential Tools
- Phillips Head Screwdriver: A small Phillips screwdriver is necessary to remove the screws securing the back panel.
- Plastic Pry Tool: This tool helps safely open the casing without damaging the device.
- Anti-Static Wrist Strap: This optional accessory helps prevent static electricity from damaging the internal components during the upgrade.
- Tweezer: Helpful for handling small screws and components.
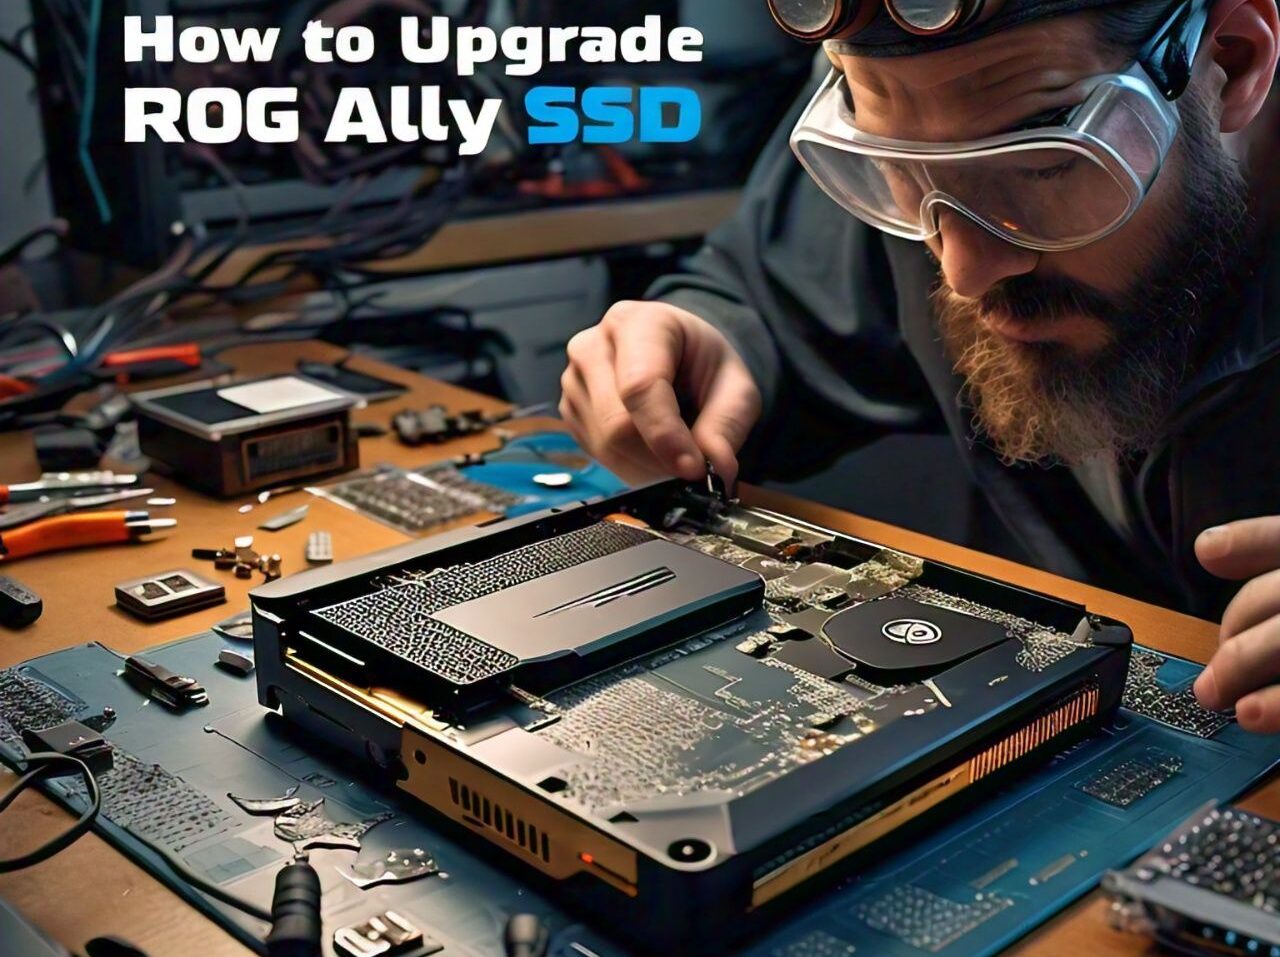
Step-by-Step Guide to Open the ROG Ally
Now that you have the necessary tools and know the compatible SSD types, follow this step-by-step guide to upgrade your ROG Ally’s SSD.
Step 1: Backup Your Data
Before starting any hardware upgrade, always back up your data. This ensures that your game saves and important files are safe in case of any mishaps during the upgrade process.
Step 2: Power Down the Device
Ensure that your ROG Ally is completely powered off. Disconnect any chargers or peripherals attached to the device.
Step 3: Remove the Back Panel
- Unscrew the Back Panel: Using the Phillips screwdriver, remove the screws securing the back panel. Keep these screws in a safe place for reassembly.
- Pry Open the Panel: Carefully use the plastic pry tool to detach the back panel. Start from one corner and gently work your way around to avoid damaging the clips holding the panel in place.
Step 4: Locate the SSD Slot
Once the back panel is removed, locate the M.2 2230 SSD slot. It’s usually situated near the battery, clearly labeled for easy identification.
Step 5: Remove the Existing SSD
- Unscrew the SSD: If there’s an existing SSD, carefully remove the screw holding it in place.
- Gently Pull Out the SSD: Slide the SSD out of its slot at a slight angle. Be careful not to touch the exposed connectors with your fingers.
Step 6: Install the New SSD
- Insert the New SSD: Align the notch on the new NVMe SSD with the slot in the ROG Ally. Insert it at a slight angle until it’s securely in place.
- Secure the SSD: Replace the screw to hold the SSD in position.
Step 7: Reassemble the Device
- Replace the Back Panel: Align the back panel with the device, ensuring that all clips are secured.
- Screw the Panel Back In: Use the Phillips screwdriver to replace all screws that were removed earlier.
Step 8: Power On the Device
Turn on your ROG Ally and check if the new SSD is recognized. You can do this by accessing the system settings and checking storage information.
Troubleshooting Common Issues
While upgrading your ROG Ally SSD is a straightforward process, you may encounter some common issues.
Here are a few troubleshooting tips:
Issue 1: New SSD Not Recognized
- Check Connections: Ensure that the SSD is properly seated in the slot and that the screw is tightened.
- Format the SSD: If the SSD is recognized but not accessible, you may need to format it through the system settings.
Issue 2: Device Fails to Boot
- Recheck Installation: Power down the device and check all connections again. Ensure that the back panel is correctly secured.
- BIOS Settings: If the device fails to boot, check BIOS settings (if accessible) to ensure the new SSD is detected.
Issue 3: Performance Issues
- Firmware Updates: Ensure that the SSD has the latest firmware installed, as manufacturers frequently release updates to improve performance and stability.
FAQs
Q: Can I use a SATA SSD in my ROG Ally?
A: No, the ROG Ally requires NVMe M.2 2230 SSDs. SATA SSDs are not compatible with the device.
Q: Will upgrading the SSD void my warranty?
A: Upgrading the SSD typically does not void the warranty, but it’s best to check ASUS’s warranty policies for specific guidelines.
Q: How do I format the new SSD after installation?
A: You can format the SSD through the operating system’s disk management settings. Right-click on the SSD and select the format option.
Q: Can I replace the SSD with a larger capacity?
A: Yes, as long as the SSD fits the NVMe M.2 2230 specifications, you can upgrade to a larger capacity for increased storage.
Conclusion
Upgrading the SSD in your ROG Ally is a great way to enhance your gaming experience by increasing storage capacity and improving performance.
With the right tools and following the outlined steps, you can efficiently replace the SSD and enjoy more games without worrying about storage limitations.
Whether you are a casual gamer or a dedicated enthusiast, optimizing your ROG Ally’s storage will undoubtedly elevate your gaming sessions.
Remember to keep your system updated and maintain backups to ensure a seamless gaming experience.
Leave a Reply