Key Takeaways
If your SSD shows in BIOS but not in the Windows installer, it may be due to partition style, driver issues, or hardware compatibility. Solutions include checking connections, adjusting BIOS settings, formatting the drive, and updating drivers to resolve the issue.
Encountering a situation where your SSD appears in the BIOS but is missing from the Windows installer can be frustrating.
This issue often stems from compatibility or configuration settings that need adjustment to make the SSD available for Windows installation.
Below, we break down the potential causes, troubleshooting steps, and solutions to get your SSD detected in the Windows installer.
Possible Reasons for SSD Detection in BIOS but Not in Windows Installer
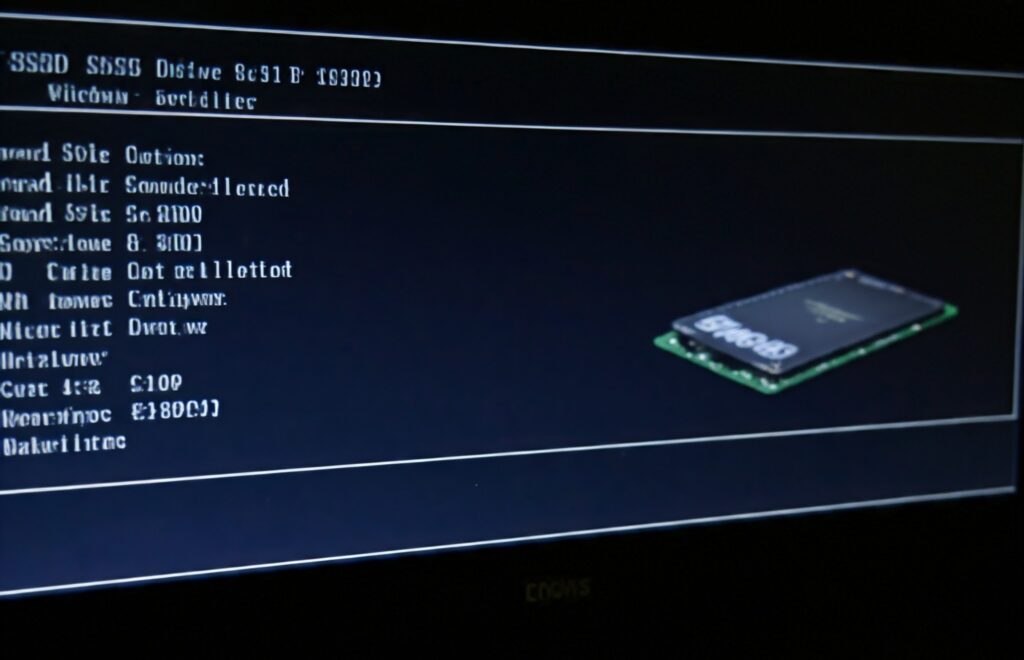
When the SSD is detected in the BIOS but not during the Windows installation process, it typically means that the drive is recognized by the system hardware but not by the installer software.
Here are common reasons for this discrepancy:
- Partition Style Mismatch: The Windows installer may have trouble reading an SSD if it’s set to an incompatible partition style, like MBR (Master Boot Record) instead of GPT (GUID Partition Table).
- Driver Issues: Missing or outdated SATA or NVMe drivers may prevent the Windows installer from recognizing the SSD.
- Incorrect BIOS Settings: BIOS configurations such as SATA mode, UEFI vs. Legacy Boot, and Secure Boot can affect SSD detection in the installer.
- Connection Problems: A loose or improperly connected SSD may cause detection issues.
- Compatibility Problems: Hardware limitations or conflicts could also prevent proper SSD detection.
Checking Drive Connections and Settings in BIOS
Step 1: Verify that the SSD is securely connected.
Inspect both the SATA and power cables if it’s a SATA drive or the M.2 slot if it’s an NVMe SSD.
A loose connection can prevent the SSD from being fully detected.
Step 2: Access the BIOS and review drive settings.
- Ensure SATA Mode is Correct: Most modern systems require AHCI mode rather than IDE mode for optimal SSD performance. Set SATA mode to AHCI if it isn’t already.
- Check Boot Mode (UEFI or Legacy): The installer may fail to detect the SSD if the boot mode is incompatible with the SSD’s partition style. UEFI mode generally requires a GPT partition, while Legacy boot works with MBR.
Step 3: Save changes and reboot the system. Once settings are adjusted, check if the Windows installer can detect the SSD.
Converting SSD Partition Style: MBR to GPT
Windows 10 and newer versions prefer the GPT partition style for UEFI-based systems.
If the SSD is in MBR format, converting it to GPT may resolve detection issues.
How to Convert MBR to GPT?
- Backup Important Data: Converting will delete existing data on the drive, so ensure a backup is in place.
- Use DiskPart in Command Prompt:
- Boot into Windows installer and press Shift + F10 to open Command Prompt.
- Type diskpart and press Enter.
- List available drives by typing list disk.
- Select the SSD using select disk X (replace X with your disk number).
- Type clean to erase the disk.
- Convert the drive by typing convert gpt.
- Exit DiskPart and continue with the Windows installation. The installer should now detect the SSD.
Updating or Installing SATA/NVMe Drivers in Windows Installer
Outdated or missing drivers can cause SSD detection issues.
If the Windows installer cannot recognize the SSD, updating or manually installing drivers can often resolve this.
Steps to Update or Add Drivers
- Download Latest Drivers: Go to your SSD or motherboard manufacturer’s website and download the latest SATA or NVMe drivers. Save these on a USB drive.
- Load Drivers During Installation:
- When you reach the drive selection screen in the Windows installer, click on “Load Driver.”
- Insert the USB drive with the downloaded drivers and follow the prompts to install them.
- Resume Installation: Once drivers are installed, the Windows installer should recognize the SSD.
Formatting and Preparing the SSD for Installation
An unformatted or incompatible drive format can prevent Windows from installing.
Preparing the SSD with a compatible format will ensure detection in the installer.
Formatting SSD Using DiskPart
- Access Command Prompt in Installer: Press Shift + F10 to open Command Prompt.
- Initialize and Format the Drive:
- Type diskpart and press Enter.
- List disks using list disk and select your SSD (select disk X).
- Use the clean command to clear the drive.
- Format the SSD with the create partition primary and format fs=ntfs quick commands.
- Exit DiskPart: Close the Command Prompt and continue the Windows installation.
Diagnosing Hardware Compatibility Issues
Occasionally, SSD detection issues may arise from hardware incompatibility.
For instance, older motherboards may have trouble recognizing newer NVMe SSDs, especially if the motherboard BIOS is outdated.
Steps to Check Compatibility
- Update BIOS: Go to your motherboard’s website and download the latest BIOS update if available. Updating the BIOS can improve hardware compatibility and resolve SSD issues.
- Refer to the Motherboard Manual: Ensure the SSD is compatible with your motherboard model. If the SSD is NVMe, check if the M.2 slot supports NVMe drives.
- Try a Different Slot or Port: If possible, connect the SSD to a different SATA port or M.2 slot on your motherboard.
Troubleshooting SSD Detection Using Third-Party Tools
In some cases, using third-party disk management tools can help diagnose and resolve SSD detection issues.
These tools offer additional options for drive management, formatting, and troubleshooting.
Recommended Tools
- MiniTool Partition Wizard: Allows users to convert partition styles, format drives, and manage disk settings.
- EaseUS Partition Master: This software can diagnose drive problems, format drives, and manage partitions for compatibility.
- CrystalDiskInfo: Use this tool to check the SSD’s health and attributes, which may indicate underlying issues preventing detection.
How to Use Third-Party Tools for Troubleshooting?
- Install the Tool on Another System: If you have a second system, install the tool and connect the SSD to diagnose potential issues.
- Convert Partition Style or Format Drive: Use the software’s conversion and formatting features to make the drive compatible with the Windows installer.
FAQs
How do I enable my SSD in BIOS?
To enable your SSD in BIOS, check the drive connections, ensure the SATA mode is set to AHCI, and confirm that UEFI or Legacy boot modes align with your SSD’s partition style (GPT for UEFI, MBR for Legacy).
What drivers are needed for an SSD to be detected?
For SATA SSDs, ensure SATA/AHCI drivers are updated.
For NVMe SSDs, specific NVMe drivers may be required. It can be downloaded from the SSD or motherboard manufacturer’s website and loaded during the installation process.
Should I update BIOS to fix SSD detection issues?
Yes, updating the BIOS can help resolve compatibility issues that may prevent the SSD from being recognized.
Conclusion
When your SSD is detected in BIOS but not in the Windows installer, this issue often boils down to partition style mismatches, driver problems, or BIOS configurations.
By following the steps to check connections, convert partition styles, load appropriate drivers, and format the SSD correctly, you should be able to get your SSD detected in the installer.
Using third-party tools can also offer additional support for more complex troubleshooting.
These methods will guide you to a smooth installation process, ensuring your SSD is ready for Windows.
Leave a Reply