Key Takeaways
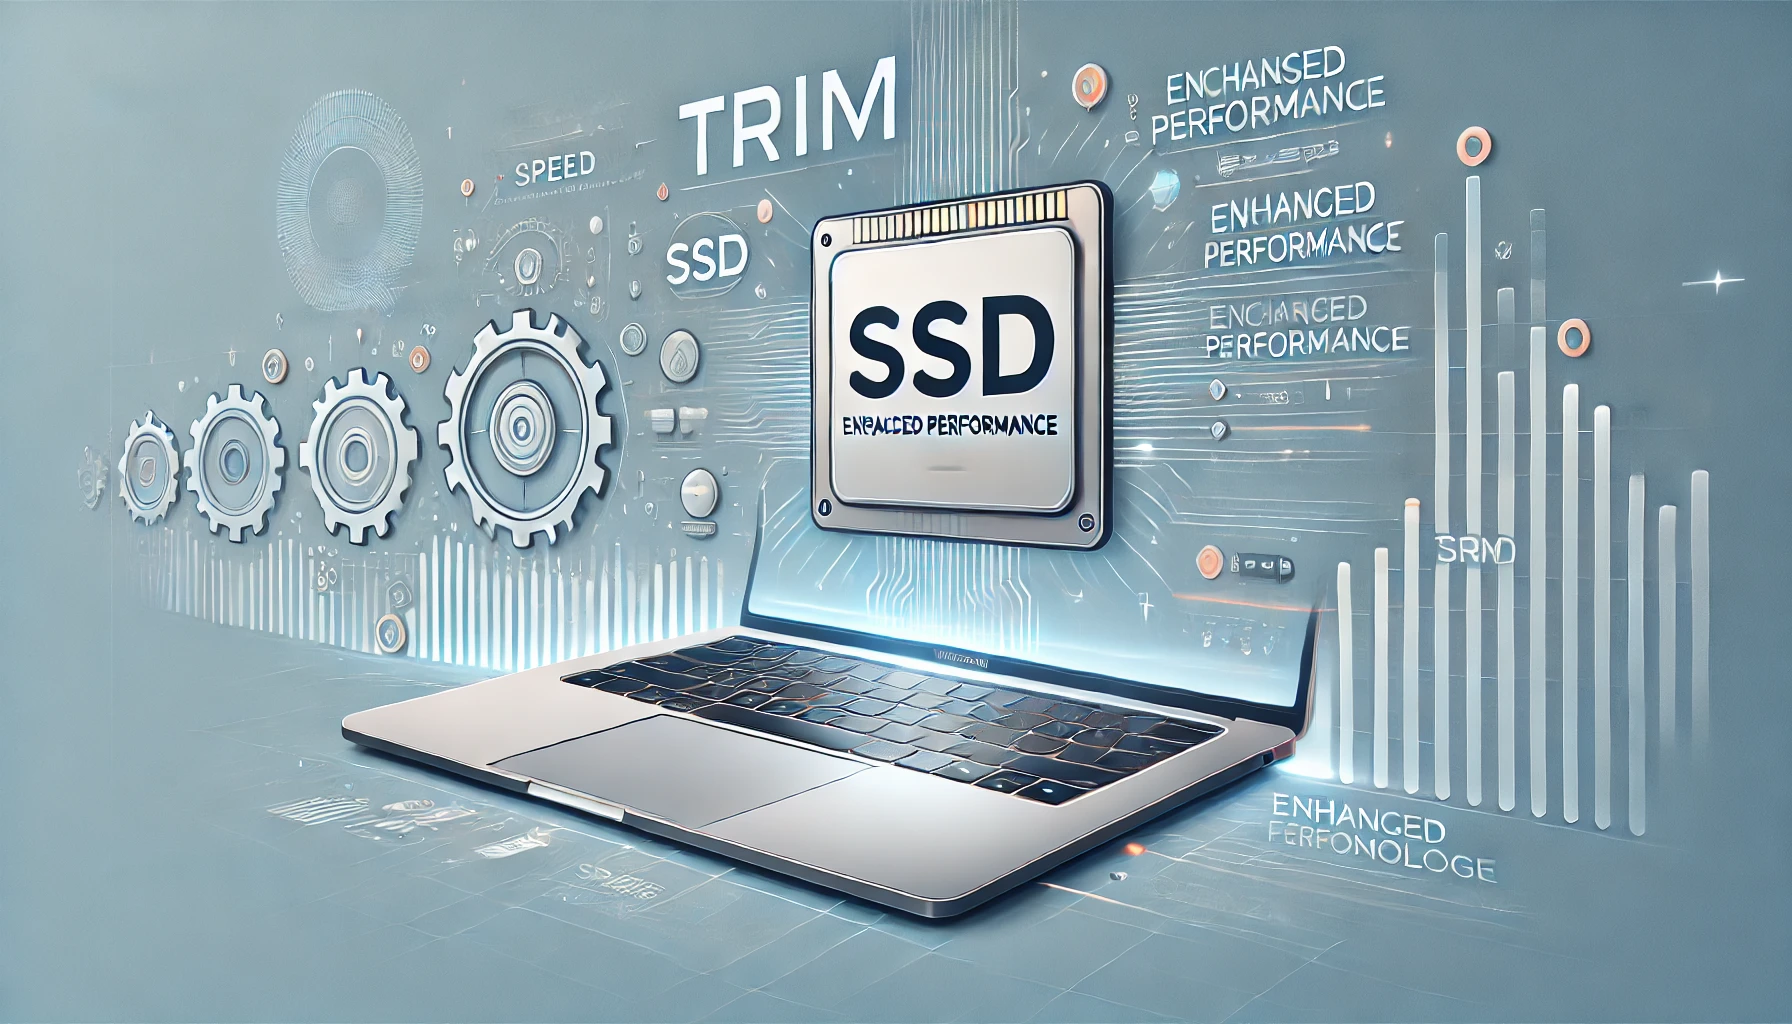
TRIM is a command that improves SSD performance by managing unused space. macOS automatically enables TRIM for Apple-supplied SSDs, but third-party SSDs might need manual activation. Enabling TRIM can extend your SSD’s lifespan, but security concerns like data recovery should be considered.
Solid State Drives (SSDs) have revolutionized storage with their faster performance and reliability compared to traditional hard drives.
However, maintaining optimal SSD health requires understanding certain features, like TRIM.
If you’re a Mac user, you may be wondering whether you should enable TRIM on your SSD, especially if you’re using a third-party drive. This article explores what TRIM is, how it works, and whether enabling it is essential for your Mac’s SSD.
What is TRIM and How Does it Work on SSDs?
TRIM is a command used in SSDs to improve efficiency and performance.
Unlike hard drives, SSDs write and erase data in blocks.
When data is deleted on an SSD, the space is not instantly marked as available.
This leads to a gradual slowdown of the drive over time, as the SSD must manage both the active and inactive blocks.
How TRIM Solve this Issue?
TRIM allows the operating system to inform the SSD about which blocks of data are no longer in use.
When data is deleted, TRIM notifies the SSD, enabling it to erase the unused blocks during idle times. This ensures that when new data is written, it can be done more efficiently, without the SSD having to first clean up old data.
Benefits of TRIM
- Maintains Performance: Regular use of TRIM ensures that your SSD continues to perform at high speeds, even after prolonged use.
- Extends Lifespan: By reducing unnecessary write operations, TRIM can extend the lifespan of your SSD.
- Reduces Fragmentation: TRIM helps keep the drive organized by clearing up unused data blocks, thereby minimizing fragmentation.
Does macOS Automatically Enable TRIM?
For Apple-Supplied SSDs
If you’re using a Mac with an Apple-supplied SSD, you’re in luck. Since OS X Yosemite (version 10.10.4), macOS automatically enables TRIM for all Apple SSDs. This ensures that your system’s SSD runs at optimal speed without needing manual intervention.
For Third-Party SSDs
Things get more complex when you introduce third-party SSDs.
While macOS doesn’t automatically enable TRIM for non-Apple SSDs, it does allow users to manually activate it using a command.
This is especially important if you have upgraded your Mac with a third-party SSD, as running without TRIM could lead to reduced performance over time.
Enabling TRIM on Third-Party SSDs
If you’ve installed a third-party SSD in your Mac, enabling TRIM can enhance its performance.
Here’s how to do it:
Step-by-Step Guide to Enable TRIM on Third-Party SSDs
- Open Terminal: Terminal is your go-to tool for enabling TRIM on third-party SSDs. You can find it in the Utilities folder within your Applications.
- Use the Terminal Command: Type the following command in Terminal:
“sudo trimforce enable” - Authenticate: You will be asked to enter your administrator password to proceed.
- Confirm: macOS will ask for confirmation. Type y to enable TRIM.
- Reboot: Once TRIM is enabled, your Mac will prompt you to restart the system. After the reboot, TRIM will be active on your third-party SSD.
Risks of Enabling TRIM
While TRIM can improve performance, enabling it on third-party SSDs does carry some risks.
Certain older or poorly designed SSDs may experience compatibility issues with TRIM, potentially leading to data corruption.
It’s always a good idea to check with the SSD manufacturer to ensure TRIM compatibility.
How to Check if TRIM is Enabled on Your Mac?
Once you’ve enabled TRIM, you may want to verify whether it’s active on your system.
Here’s how you can check:
- Click the Apple Menu: Go to the top left corner of your screen and click the Apple logo.
- Select “About This Mac”: Choose this option from the dropdown menu.
- Click on “System Report”: This will open a detailed report about your Mac’s hardware.
- Go to the Storage Section: Under the “Hardware” section, select “Storage.”
- Find TRIM Support: Check whether “TRIM Support” is marked as “Yes” or “No” next to your SSD.
If it says “Yes,” then TRIM is enabled. If it says “No,” and you’ve manually activated TRIM, revisit the Terminal steps to ensure it was done correctly.
TRIM and Data Security on Mac SSDs
While TRIM is highly beneficial for performance, it raises concerns regarding data security, specifically with data recovery.
Here’s why:
TRIM and Data Recovery
TRIM automatically wipes data from unused blocks, making it much harder to recover deleted files.
This can be both a blessing and a curse. On one hand, it improves performance and security by making old data unrecoverable.
On the other hand, if you accidentally delete important files, data recovery tools may be less effective.
Best Practices for Data Security
- Back-Up Your Data Regularly: To avoid accidental data loss, it’s important to maintain regular backups using Time Machine or other backup software.
- Use Encryption: macOS offers built-in disk encryption (FileVault) for securing your SSD, adding an extra layer of protection against unauthorized access.
FAQs
1. What does TRIM do for SSDs?
TRIM is a command that helps maintain SSD performance by cleaning up unused data blocks. This reduces the need for the SSD to handle unnecessary data, speeding up future write processes and prolonging the drive’s lifespan.
2. Do I need to enable TRIM on my Mac’s SSD?
If your SSD was supplied by Apple, macOS automatically enables TRIM. For third-party SSDs, you may need to manually enable TRIM to ensure optimal performance.
3. Can enabling TRIM cause data loss?
TRIM does not directly cause data loss, but it makes deleted data irrecoverable. Therefore, it’s crucial to back up important files regularly.
4. How can I enable TRIM on a third-party SSD?
You can enable TRIM on third-party SSDs by running the sudo trimforce enable command in Terminal and following the on-screen instructions.
5. Is it safe to enable TRIM on any SSD?
Enabling TRIM on modern SSDs is generally safe, but older or lower-quality SSDs may experience issues. Check your SSD manufacturer’s guidelines before enabling TRIM.
Conclusion
Enabling TRIM on your Mac’s SSD can significantly enhance performance and prolong the life of your drive by efficiently managing unused data blocks.
For Apple-supplied SSDs, macOS automatically enables TRIM, but third-party SSD users should manually activate it for similar benefits.
While TRIM comes with many advantages, it also raises security considerations, particularly concerning data recovery.
In the end, maintaining regular backups and ensuring data security remain essential practices when managing your Mac’s SSD.
Leave a Reply